

💢 How to mosaic a photo in a post (Naver Cafe App)



When I was new to the Da Nang local community... at first, I wasn't familiar with how to use the Naver Cafe App... and I didn't really know how to mosaic photos, so I remember struggling with it a lot. So... I'm sure many of my neighbors already know how to apply mosaic to photos... But I thought it might help those who, like me back then, are just starting to use the Cafe App, so I decided to write this up~ ✅️ Editing photos in the Naver Cafe App: How to apply mosaic The model is none other than the trending actor Woo Seok~~❤️ (totally biased pick~🥰) 1. Attach the photo you want. ✔️ Select a photo from your gallery and upload it

2. Click the attached photo and click the edit function at the bottom left. (red circle) ✔️ Clicking the photo will show a green border
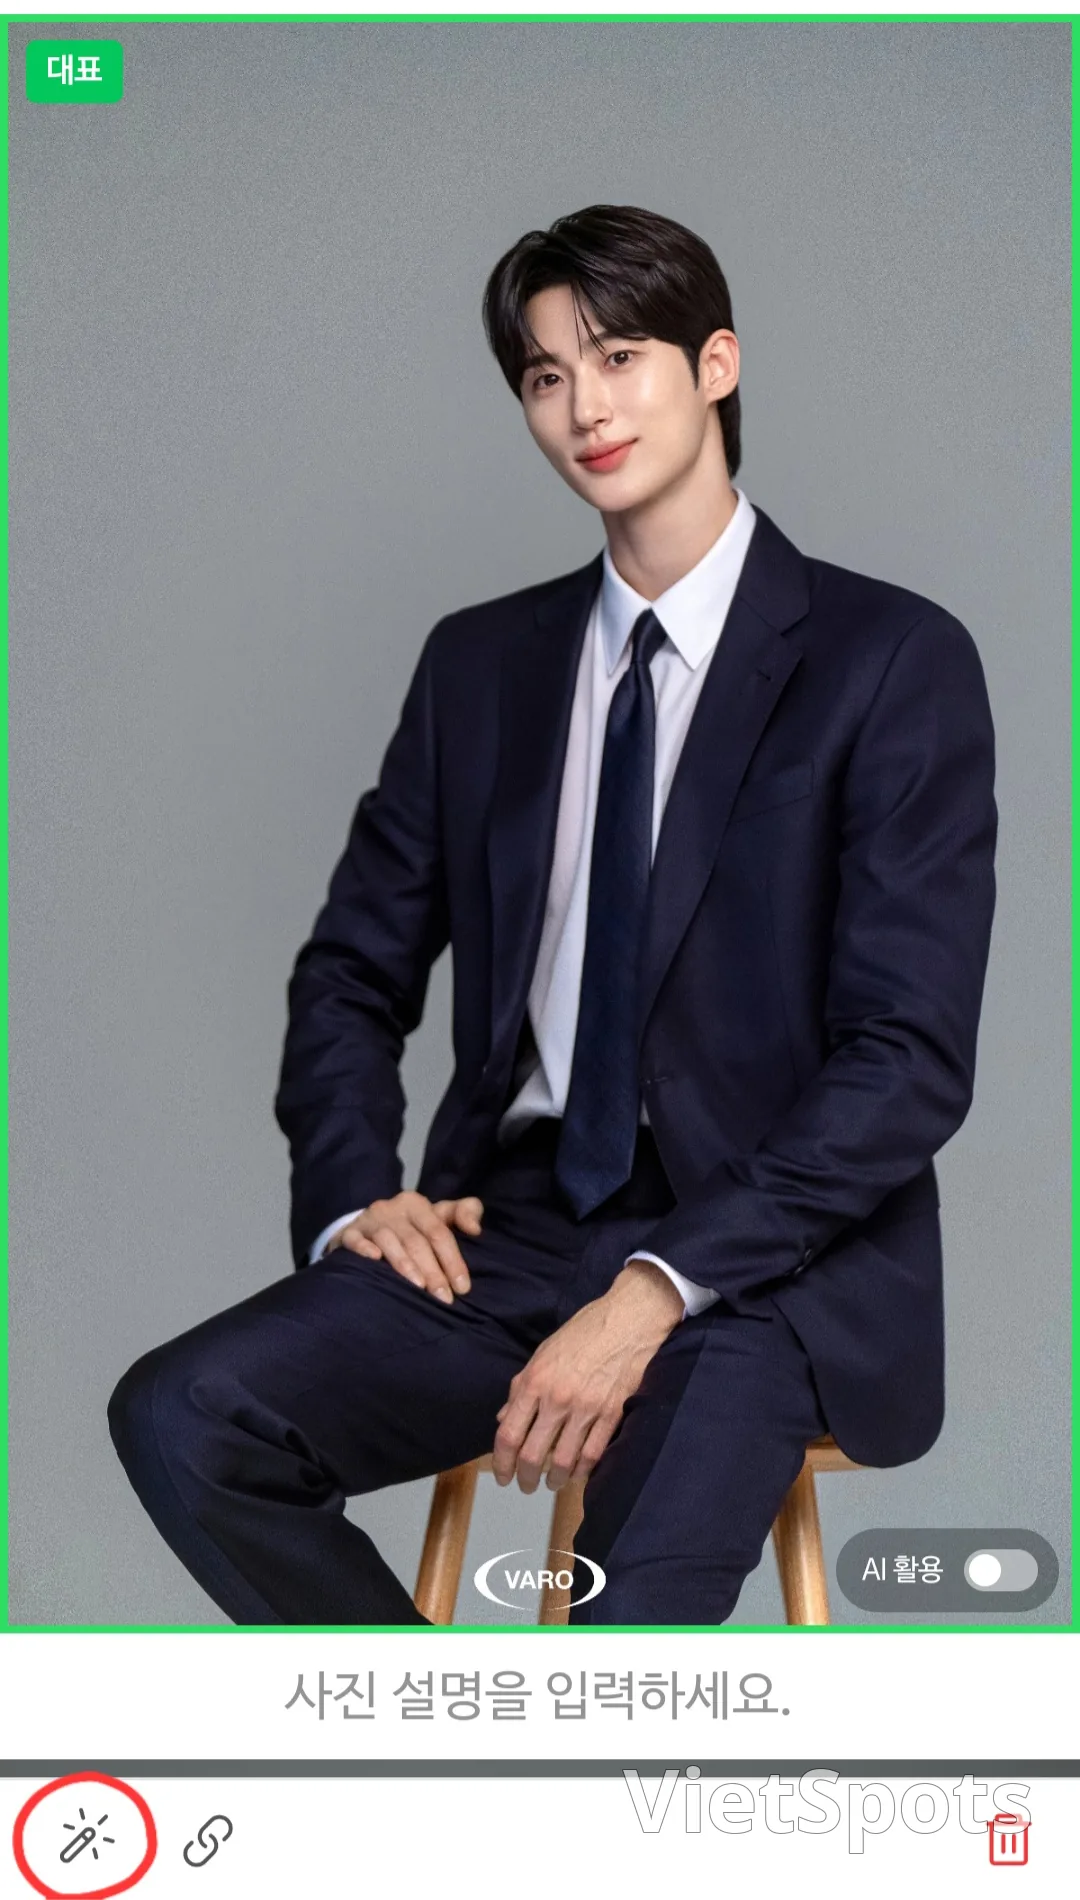
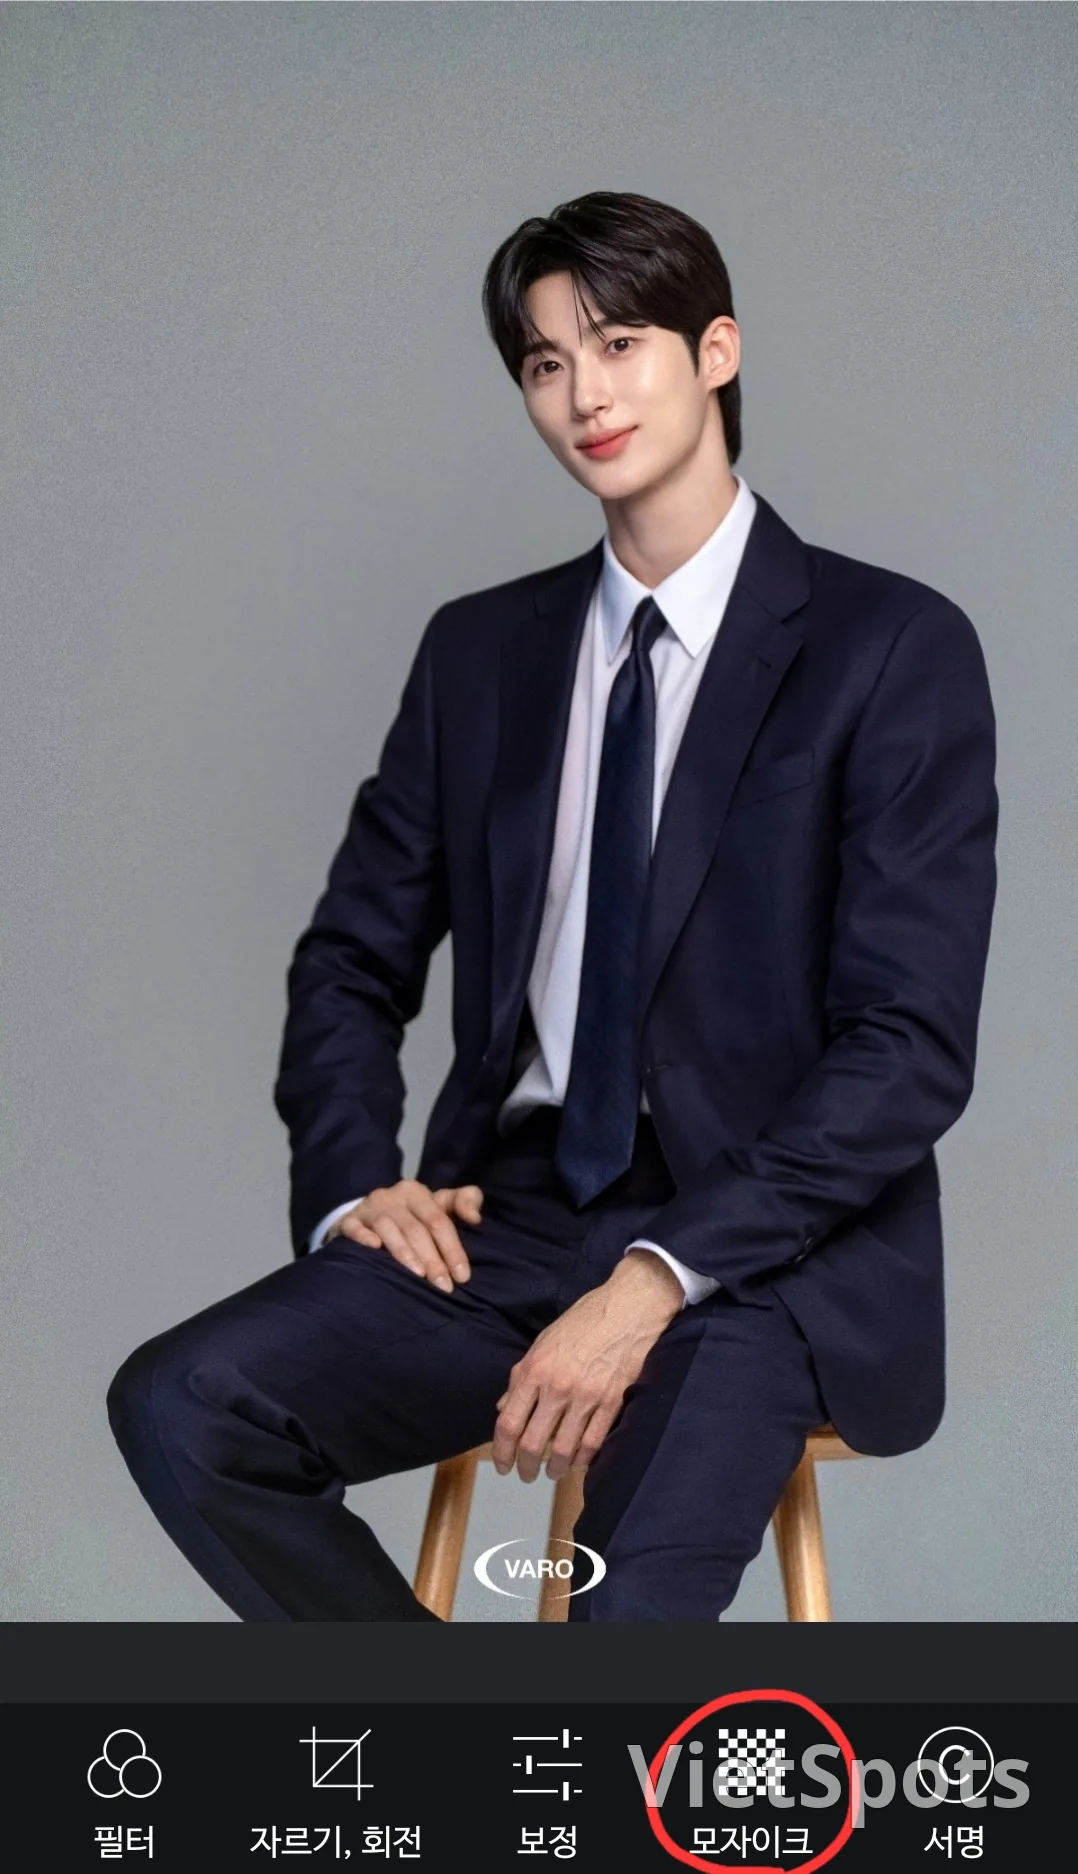
3. Go into edit mode and click on Mosaic. Then choose among Square, Circle, or Style. ✔️ Square, Circle shapes: Mosaic form ✔️ Style: Sticker form

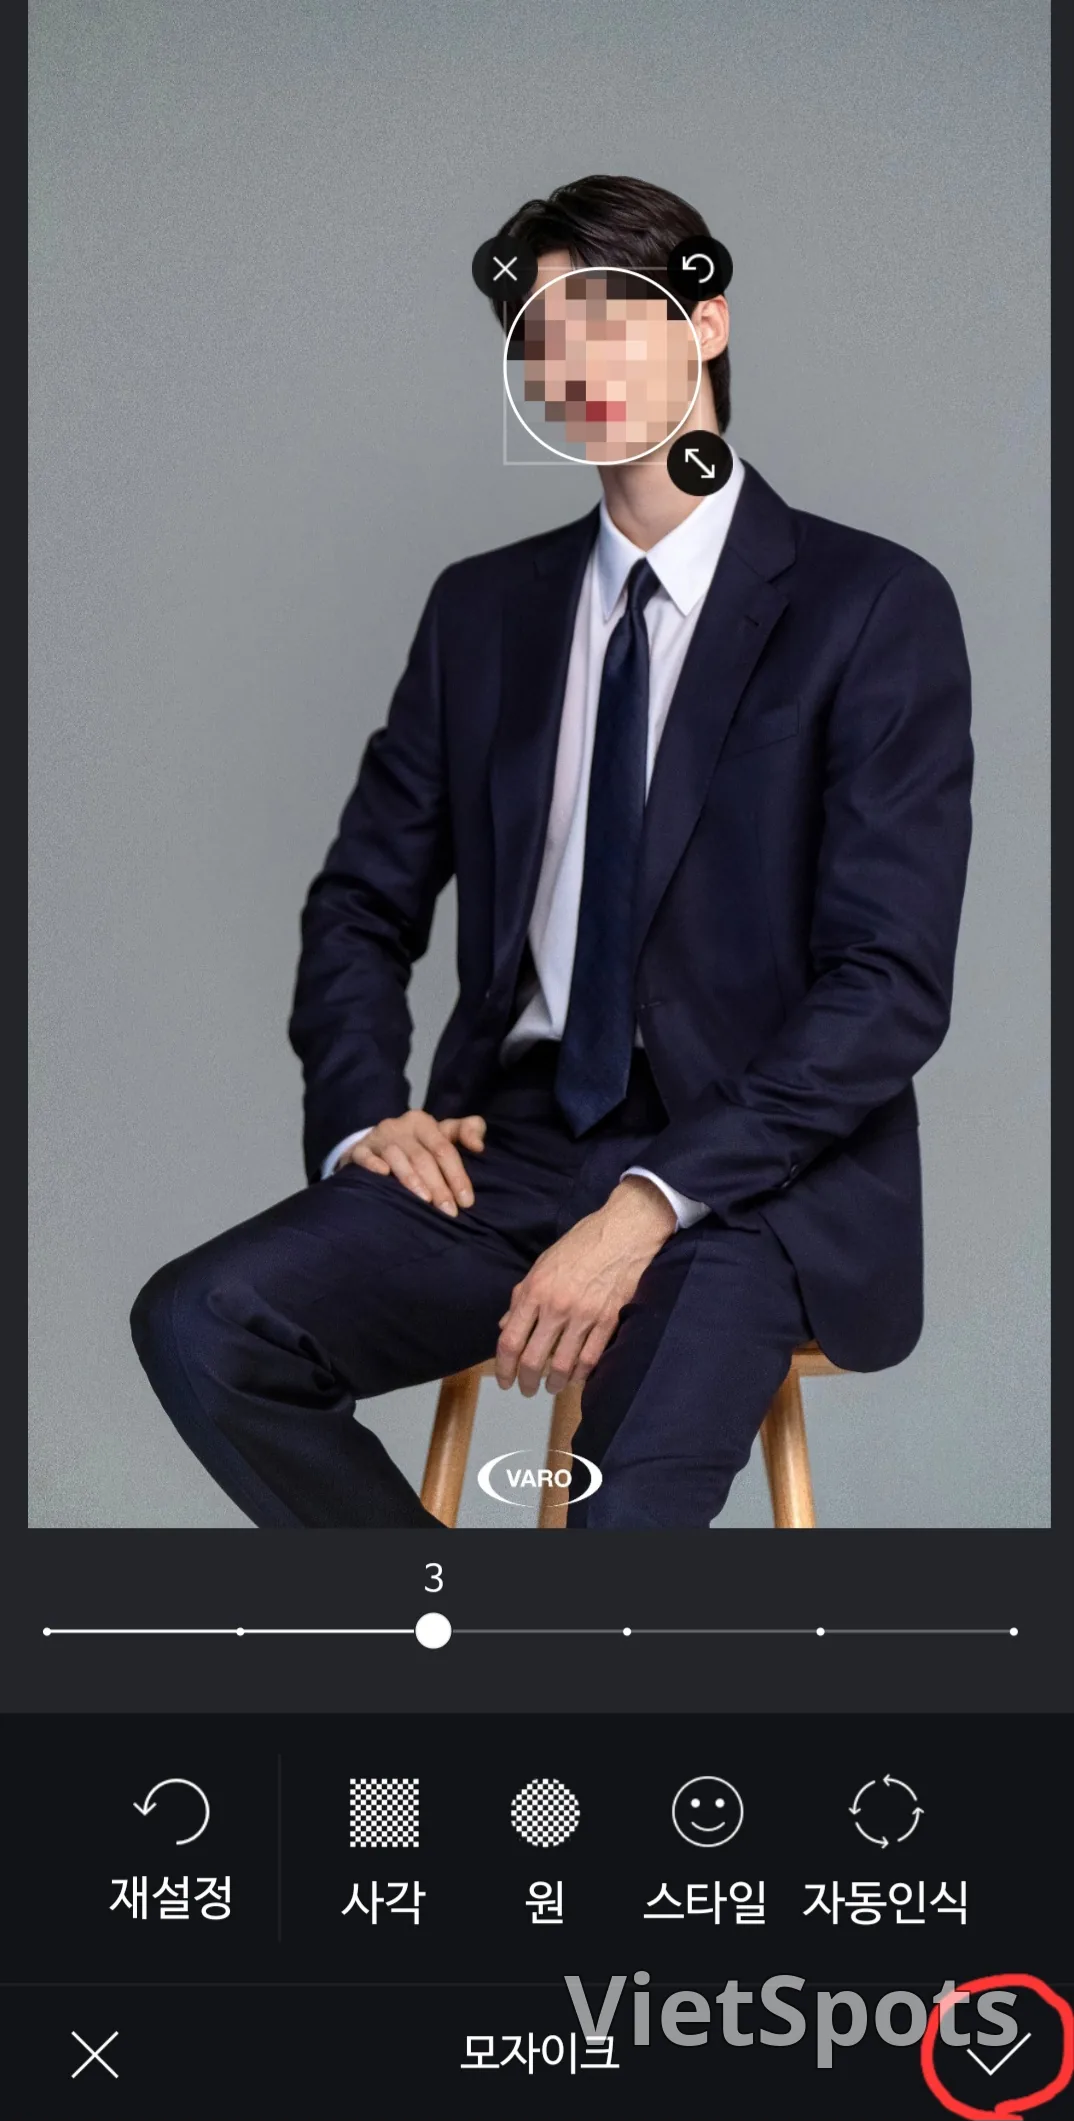
4. Select the mosaic shape you want and adjust its position and size. (I chose the circular shape) Then click the ✔️ mark in the bottom right corner. ✔️ How to move the position: Press and hold the mosaic and move it to the desired location ✔️ How to change the size: Pull or shrink the arrow in the bottom right corner ✔️ Mosaic intensity: Adjust it by moving the bar with the number 3 below the photo
5. After finishing the mosaic's position and size, tap Save at the top right.
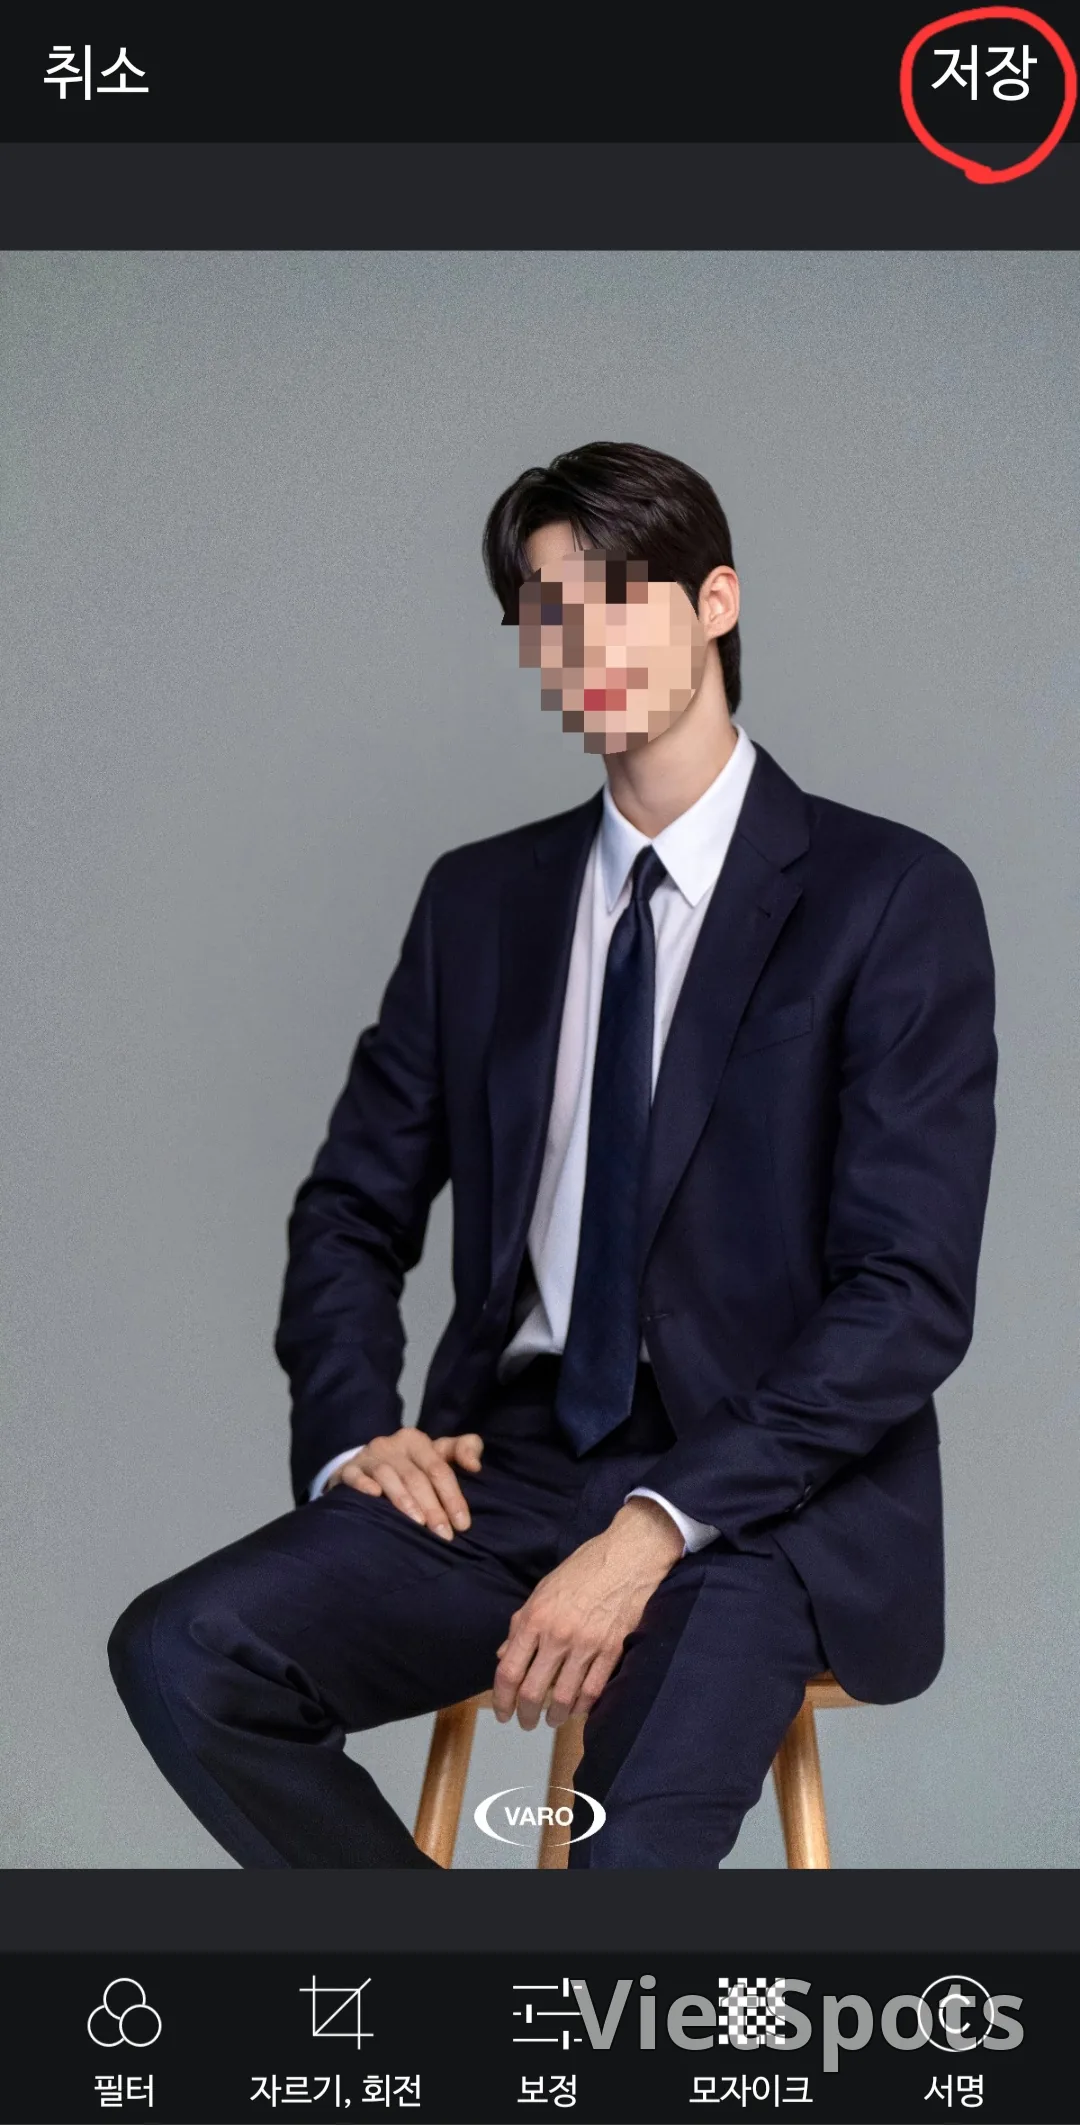
6. Mosaic-processed photo completed~

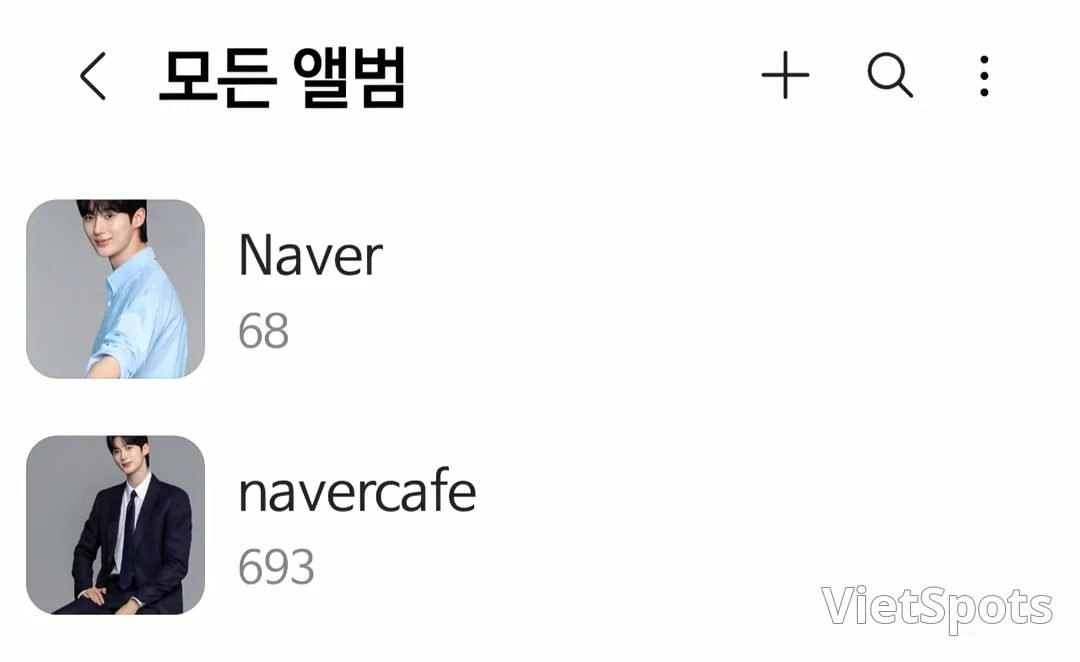
Notes ❗️When editing, please click on the photo you want to edit and then press the edit button. ❗️Photos you edit in the Naver Cafe App are saved to the navercafe album. Please keep this in mind when looking for the photo in your phone's gallery~^^ (This is based on Samsung phones... I don't know much about iPhones..^^) ❗️The mosaic feature in the Naver Cafe app seems really useful for covering someone's face or blurring out an object~
Thank you always for reading♡
Book Food in Da Nang — in English on VietSpots
- 🎁 Sign up and get 16 Welcome Pack coupons — e.g. Motorbike Rental 45%
- 👑 Member tier discount up to 15% on site (Silver 5% · Gold 15%)
- 🛂 Auto-fill arrival card📶 Compare lowest eSIM prices🚻 Find toilets
Comments